
Last updated October 30, 2026
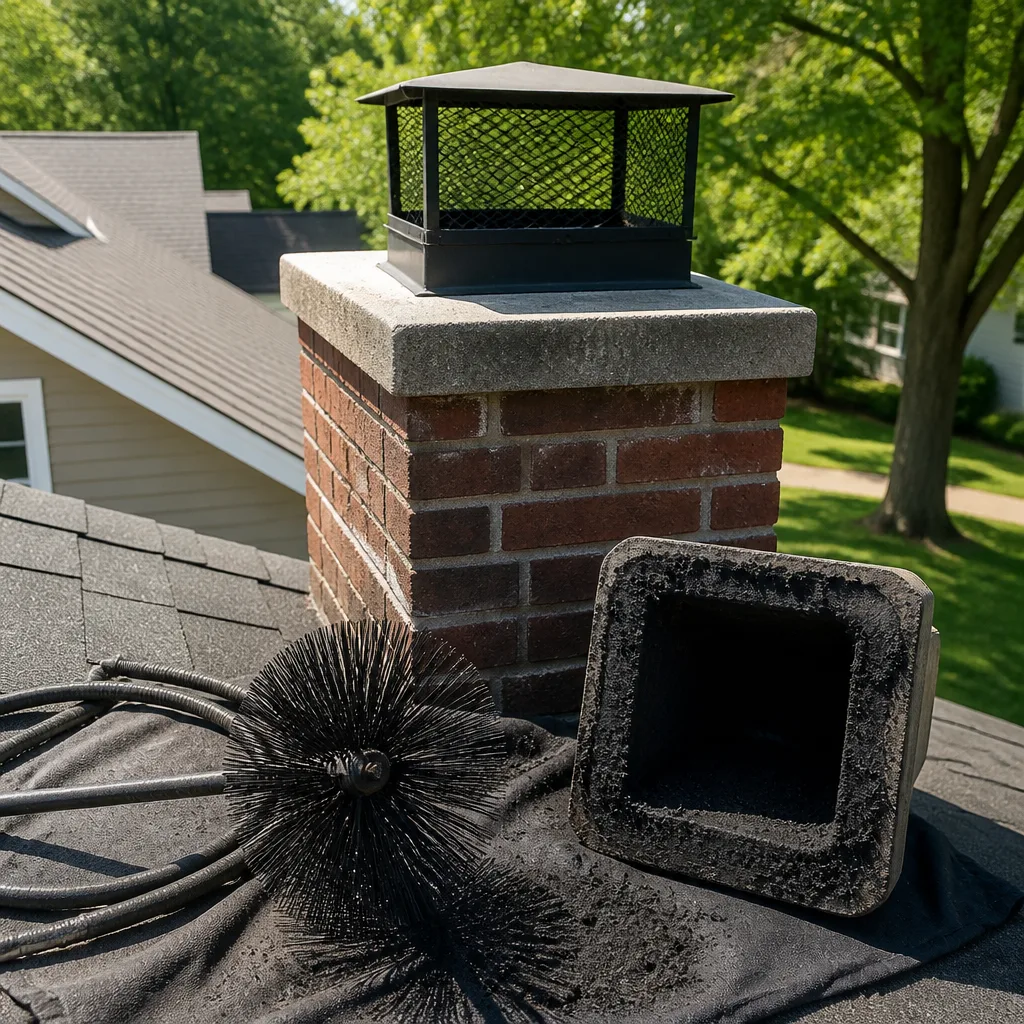 Sweep & inspection
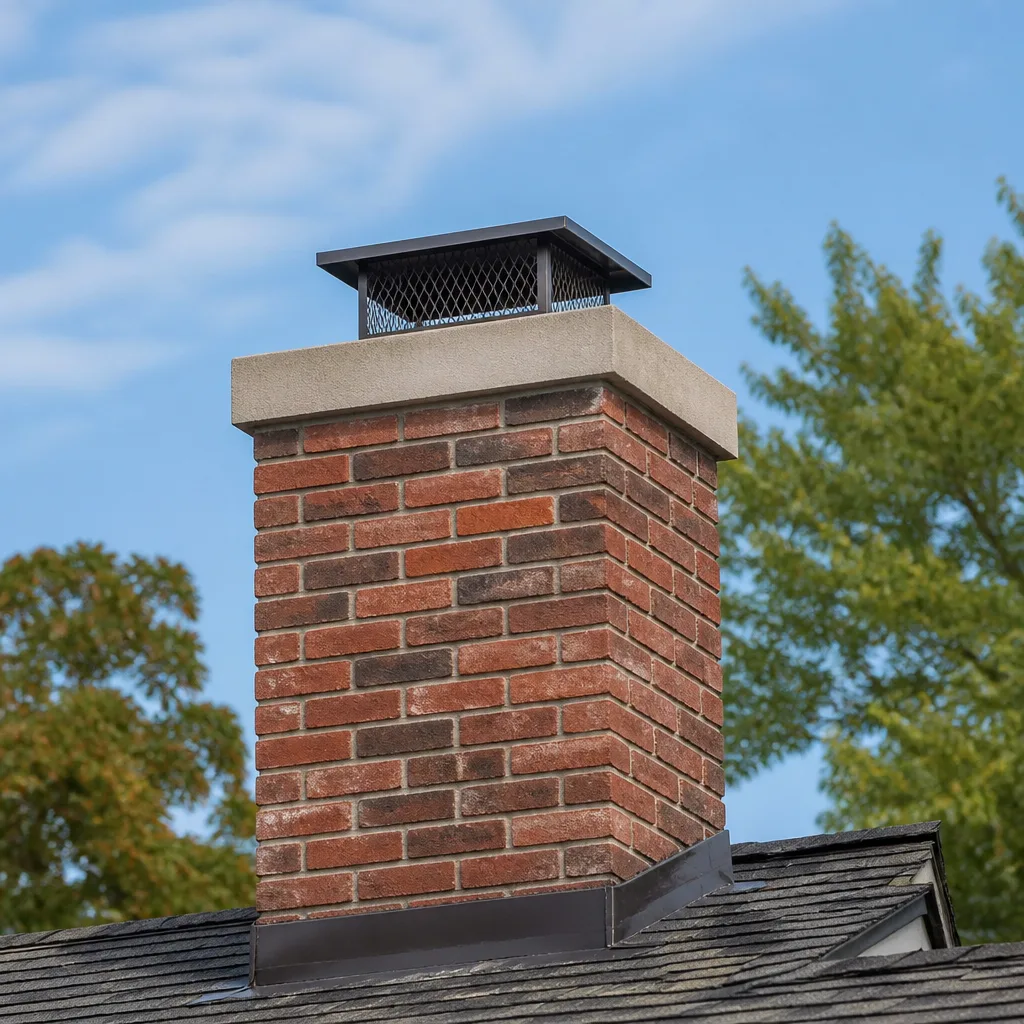 Caps & crowns
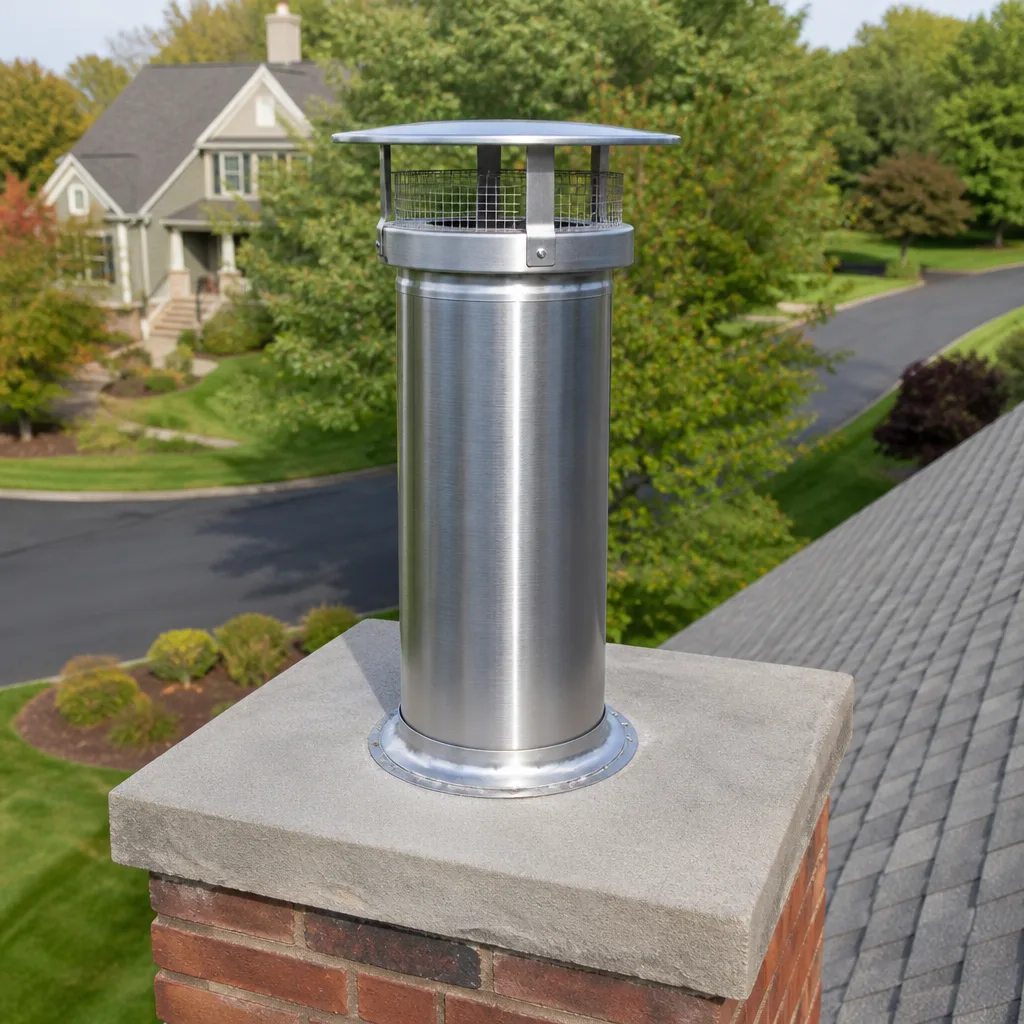 Flue relining
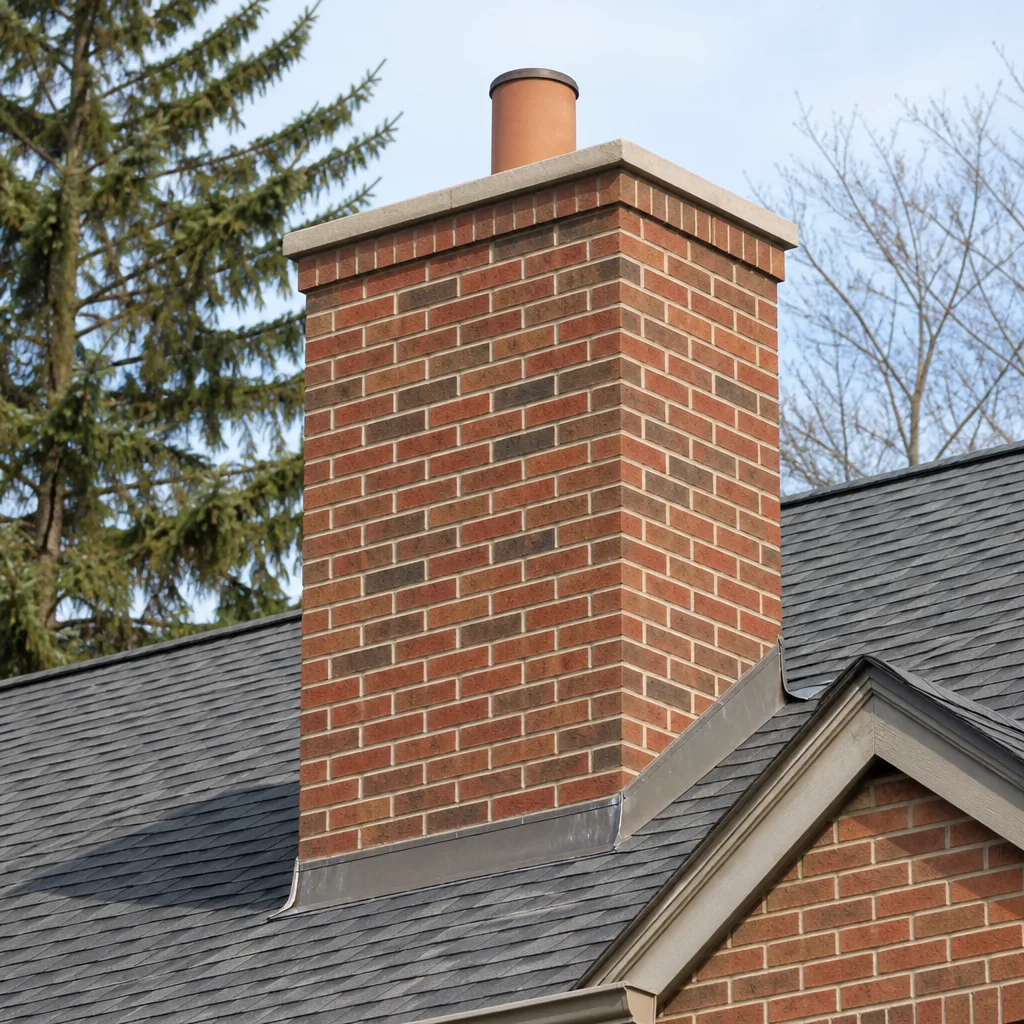 Masonry repair
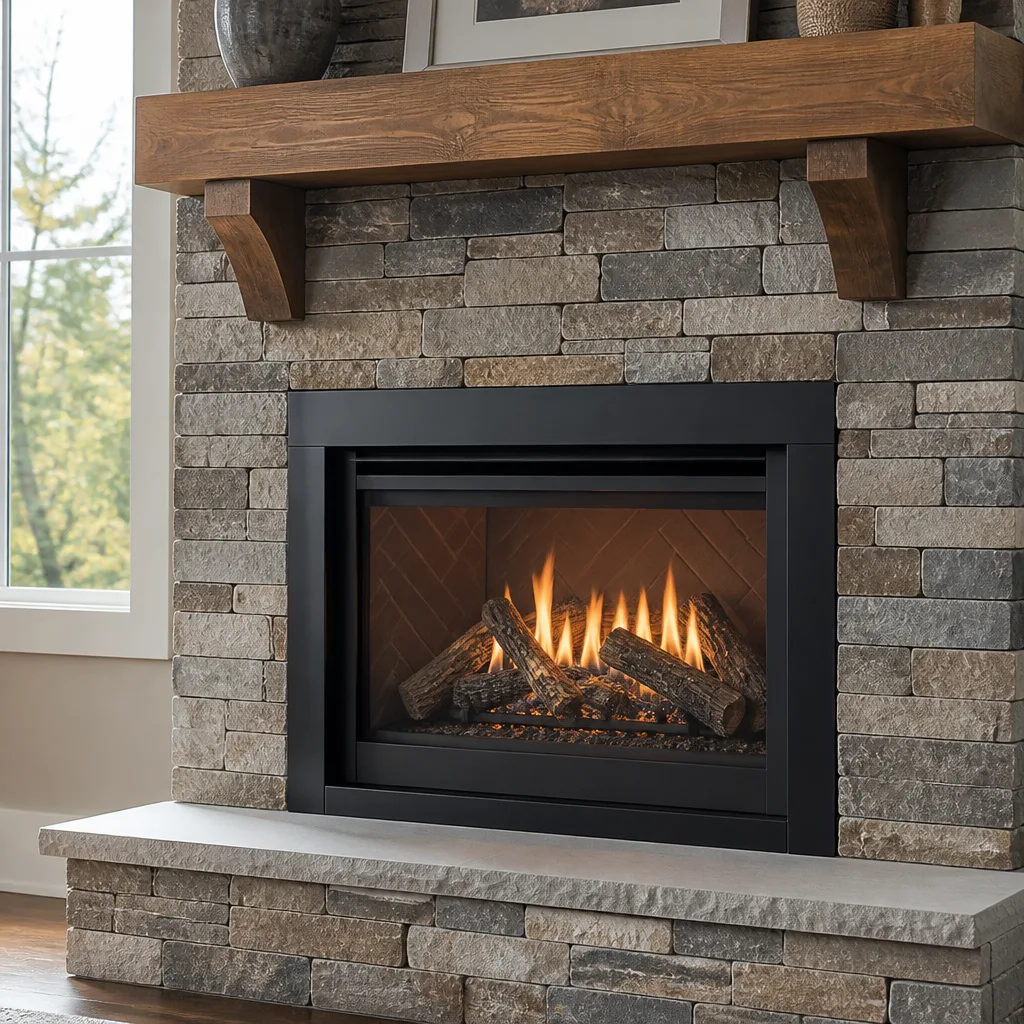 Gas fireplace service
Level 1 sweep and inspection to the NFPA 211 annual standard - flue, crown, cap, and flashing checked and photographed
Chimney sweep logs do not sweep chimneys. They loosen some creosote - which then falls where a brush and vacuum still have to collect it.
Chimney Sweep Maintenance Checklist for Ontario Homeowners
Ask any Ontario homeowner which part of their chimney they check most often and you’ll hear the same answer: the cap. It’s visible from the driveway, it’s easy to point at, and it’s where birds make themselves obvious. But ask a chimney technician which component causes the most silent, expensive damage and you’ll get a different answer entirely: the damper. A warped or stuck damper lets heated air escape all winter, pulls carbon monoxide back into the living space, and costs more in heat loss than most chimney repairs. This guide walks through a maintenance checklist built around what actually fails in Ontario homes, organized by component, so you can catch the $300 fixes before they become $3,000 rebuilds.
Quick Answer
A chimney maintenance checklist for Ontario homeowners should cover seven components in order: the crown, cap, flashing, liner, damper, firebox, and ash pit. Visually inspect the exterior after every Santa Ana wind event, check the damper and firebox before each burning season, and schedule our Chimney Sweep services and a professional camera inspection annually or every 50 fires, whichever comes first. Anything beyond a visual check that involves the liner, flashing, or masonry joints belongs with a trained technician, not a ladder and a flashlight.
Styles & brands we work with
Table of Contents
- 1. The Crown: Your Chimney’s Umbrella
- 2. The Cap: More Than a Bird Guard
- 3. Flashing: Where Leaks Actually Start
- 4. The Liner: The Component You Can’t See
- 5. The Damper: The Most Ignored Component
- 6. Firebox and Ash Pit: The Working End
- 7. How to Log Your Observations
- Common Mistakes to Avoid
- When to Call a Professional
- Frequently Asked Questions
Before diving into each component, let’s be clear about the difference between a maintenance task and a maintenance trigger. A maintenance task is something you can safely do yourself: visual inspection, clearing ground-level debris, logging what you see. A maintenance trigger is a finding that means stop looking and start calling: a hairline crack in the crown, rust streaks on the cap, a damper that won’t fully open. Most of the damage we see in Ontario comes from homeowners who found a trigger—something covered in Chimney Sweep Troubleshooting: Common Problems and How to Fix Them—treated it like a task, and waited two seasons to act. This checklist separates the two clearly.
And one more thing worth stating plainly: your flue handles combustion gases every time you light a fire. It deserves more than a quick brush. The checklist below treats it that way.
1. The Crown: Your Chimney’s Umbrella
The crown is the concrete or mortar slab that caps the top of the chimney structure, sealing the gap between the outer masonry and the flue liner. In Ontario, where summer temperatures routinely climb past 100°F and winter nights can dip below freezing, the crown endures extreme thermal cycling. Concrete expands and contracts with every temperature swing. Over five or ten years, that cycling produces hairline cracks that grow every season.
What You Can Check From the Ground
- Visible cracks: Use binoculars if you can’t see the top clearly. Any crack wider than a pencil line is a trigger, not a task.
- Spalling or flaking: If chunks of crown material are missing or the surface looks sandy, water is already penetrating the mortar bed below.
- Pooling water: After rain, look for dark, damp patches on the crown surface that take more than a day to dry. A properly crowned chimney sheds water in under an hour.
- Moss or vegetation growth: Anything green growing up there means the surface is staying wet long enough for spores to root. That’s a moisture problem, not a cosmetic one.
What You Should Not Attempt Yourself
Crown repair requires working at height with masonry materials that cure on specific timelines. Ontario’s dry heat can flash-cure a poorly mixed crown patch, leaving it brittle before it bonds. We use professional-grade sealants specified by the trade, and we’ll tell you what we found, show you the evidence, and give you options. That last part matters because not every crown crack requires a full rebuild. Some can be sealed. Some can be resurfaced. Some do need replacement. The difference is visible on camera.
2. The Cap: More Than a Bird Guard
Most Ontario homeowners think of the chimney cap as a bird barrier. It is that, but it’s also the first line of defense against rain entering the flue directly, and against embers escaping onto your roof or your neighbor’s during fire season. A missing or damaged cap changes the entire moisture profile of your chimney. Rain goes straight down the flue, mixes with creosote, and creates an acidic slurry that eats at the liner and mortar joints. The cap is the most inspected component on every homeowner checklist, and for good reason. But inspecting it is not the same as evaluating it correctly.
Cap Inspection Checklist
- Is the cap still attached? Ontario’s Santa Ana winds regularly tear loose caps off chimneys. If the cap is missing, the flue is open to everything: rain, debris, birds, embers.
- Is the mesh screen intact? The side screen should be free of rust holes and should wrap the full circumference. A single gap invites birds, squirrels, and roof rats.
- Is the screen clogged with creosote or soot? A partially blocked screen restricts the draft, pushing smoke back into the living space.
- Does the cap overhang the flue opening by at least an inch on all sides? Undersized caps let rain drive sideways into the flue during wind events, which Ontario gets more than its share of.
- Are the cap fasteners rusting? Surface rust is cosmetic. Rust that has pitted the metal or corroded the attachment points is structural.
When we replace caps in Ontario, we source components from Famco and Copperfield. These are brands chimney professionals specify, as explained in Choosing the Right Chimney Cleaning Brand: A Buyer’s Guide for Ontario, not hardware-store substitutes. The difference shows up three years later when the cheap cap from a big-box store has rusted through and the Famco cap still looks new. Professional materials cost more up front and cost less over time.
3. Flashing: Where Leaks Actually Start
Here’s the counterintuitive thing about chimney leaks in Ontario: most of them don’t come through the cap or the crown at all. They come through the flashing. The flashing is the metal sheeting that seals the joint where the chimney housing meets the roofline. Every rooftop chimney has this joint, and every rooftop chimney eventually leaks at it. The reason is simple physics: the roof and the chimney expand and contract at different rates, so the joint between them is constantly working loose.
In Ontario’s climate, the problem compounds. Our dry heat bakes tar-based flashing sealants until they crack and pull away from the metal. Then the winter rains arrive and find every gap. By the time you see a water stain on the ceiling near the fireplace, the flashing has probably been leaking for months.
Flashing Warning Signs
- Dark staining on the ceiling or wall near the chimney chase. This is the classic late-stage sign. Early signs include bubbling paint or peeling wallpaper near the fireplace.
- Rust streaks on the chimney exterior below the roofline. Water running down from a bad flashing joint carries metal oxides with it.
- Granules from roof shingles accumulating in gutters near the chimney. Flashing leaks saturate the surrounding shingles and shorten their life.
- Visible gaps between the flashing and the chimney. Any daylight, any lifted metal, any cracked caulk bead.
Flashing repair is not a homeowner task. It requires roof access, proper ladder safety, and sealants rated for the specific metals involved. What you can do is log what you see from inside and from the ground, and call before the next rain. We handle flashing as part of our full Chimney Repair in Ontario scope, one company from inspection to repair, so you’re not coordinating between a roofer who won’t touch the chimney and a chimney company who won’t touch the roof.
4. The Liner: The Component You Can’t See
If the damper is the most ignored component, the liner is the most misunderstood. Homeowners in Ontario often tell us they had their chimney “cleaned” for years without anyone mentioning the liner, and they assume that means the liner was fine. What it usually means is that nobody ever looked. A sweep removes creosote from the surface of the liner. It doesn’t evaluate the liner’s structural integrity. That requires a camera.
Here’s what actually happens inside a flue liner over years of use in Ontario. Wood fires in our dry climate burn hot and fast. The rapid temperature swings crack clay tile liners. Each crack exposes the masonry behind the liner to heat and condensation. Water from a bad cap or crown seeps in, and the freeze-thaw cycle widens the cracks further. After enough cycles, the liner loses its ability to contain combustion gases and channel them safely out of the house. At that point, you have a carbon monoxide risk and a fire risk, both invisible from the outside.
What a Camera Inspection Shows
- Hairline cracks in clay tile liners. Early stage, often worth monitoring. Sometimes sealable with ceramic resurfacing.
- Crumbled or missing tile sections. Structural. The liner is no longer doing its job.
- Creosote glaze buildup thicker than 1/8 inch. A chimney fire waiting for a spark.
- Gaps between liner sections. Heat and gas can escape into the chimney structure.
- Signs of a previous chimney fire: pitted tile surfaces, melted mortar, discolored masonry.
When a liner does need work, Ontario homeowners have options that didn’t exist a generation ago. HeatShield ceramic resurfacing restores structural integrity to cracked clay liners without a full tear-out, often at a lower cost and with far less disruption. Where a liner is beyond resurfacing, we install DuraFlex flexible liner systems, the preferred choice for navigating offset flues that rigid liners can’t handle. Both are professional-grade materials, not hardware-store substitutes. And we’ll show you the camera footage before we quote anything, so you can see what we saw.
5. The Damper: The Most Ignored Component
The firebox damper gets less attention than any other chimney component, and it causes more heat loss and more carbon monoxide events than any other single part. The logic is understandable: the damper is a hinged metal plate above the firebox, you open it before lighting a fire and close it after the fire is out, and that’s all there is to it. Except that’s not all there is to it.
Dampers fail in three ways. They warp from heat exposure, which prevents them from sealing fully when closed. They seize from rust and creosote accumulation, which prevents them from opening fully when you light a fire. And their frames pull away from the surrounding masonry over time, which creates gaps that bypass the damper plate entirely. The result in all three cases: heated air escapes up the chimney all winter, and combustion gases can flow back into the living space when the fire is burning.
Damper Test You Can Do Yourself
- Open the damper fully and look up with a flashlight. You should see a clear, unobstructed path to the flue.
- Close the damper and look again. The plate should seat fully against its frame with no visible gaps.
- Run your hand around the seam (without touching the metal if it’s hot). If you feel air movement when the damper is closed, the seal is compromised.
- Light a fire and watch the smoke. If smoke curls out of the firebox opening instead of going up the flue, the damper is likely not opening fully or the flue is obstructed.
- Check the damper operation on a cold day. If the plate is hard to move, soot and creosote are gumming up the hinges.
If the damper fails any of these checks, call a professional. A warped damper cannot be bent back into shape, and a seized one should not be forced. The repair options range from cleaning and lubricating the mechanism to replacing the damper assembly with a modern top-sealing damper. We source replacement dampers from Famco and Copperfield, brands built for the trade, and a proper repair restores both the draft and the seal in one visit.
6. Firebox and Ash Pit: The Working End
The firebox is the chamber where the fire actually burns, and the ash pit is the collection area below it. Both are straightforward to inspect, and both tell you a lot about how the chimney has been used. The firebox in a Ontario home sees everything from quick cosmetic fires to heavy wood-burning through the winter months. The condition of the firebox reflects that history.
Firebox Inspection Points
- Crumbling firebrick. Individual firebricks can be replaced. If multiple bricks are crumbling, the firebox may need relining.
- Gaps in the mortar joints wider than 1/4 inch. These allow heat to reach the masonry behind the firebox, weakening the structure over time.
- White stains on the firebrick surface. This is efflorescence, a sign that moisture is passing through the masonry.
- Rust on the metal components inside or around the firebox. Includes the damper frame, the lintel bar, and any glass door tracks.
- Cracks in the firebox floor. Heat and weight from fire grates cause these over time. Small cracks can be patched; large cracks need a professional assessment.
Ash Pit Management
The ash pit is the least glamorous part of chimney maintenance and one of the most important. An overfilled ash pit blocks the air intake for the fire grate, smothering the fire and creating excess smoke. It also creates a fire hazard: embers buried in ash can stay hot for days, especially in Ontario’s dry air. Empty the ash pit regularly during burning season, but do it safely.
Allow the ashes to cool for at least 72 hours before removing them. Use a metal container with a tight-fitting lid, never a paper bag or plastic bucket. Store the container outside, away from structures and combustible materials. And never use a shop vacuum designed for dry debris to clean a fireplace, even if you think the ashes are cold. Fire-rated ash vacuums exist for a reason. This is one of those places where the right tool matters.
7. How to Log Your Observations
A chimney maintenance checklist only works if you can compare what you saw last season with what you see now. Memory is unreliable, especially for things like “was that crack always there?” A simple dated log solves this. It also does something else: it creates documentation that supports insurance claims and home sale disclosures. When you can show an adjuster or a buyer a log showing that you inspected the crown every year and addressed what you found, you’re in a different position than someone who says “I think we had it cleaned once.”
How to Keep a Useful Chimney Log
- Date every entry. Include the month and year, and note whether it was before or after burning season.
- Record what you saw, not what you think it means. Write “crack on crown, east side, about 3 inches long” rather than “crown looks okay except for a crack maybe.”
- Take photos from the same angle every time. Visual comparison catches slow changes that written descriptions miss.
- Note any repairs or cleanings. Include the date, what was done, and who did it.
- Record burning habits. How many fires did you burn this season? What kind of wood? These variables affect creosote buildup rates.
- Keep receipts and camera footage. If you get a camera inspection, ask for the video file or at least the still images.
In Ontario, where many homes change hands every five to seven years, a well-kept chimney log is a selling point. It demonstrates that the chimney was maintained by someone who understood it, which is exactly what a cautious buyer wants to see. For landlords and property managers, a chimney log across multiple units provides documentation that may matter for insurance purposes and tenant safety disclosures.
Ontario-Specific Additions
Two environmental factors in Ontario affect chimney maintenance more than most homeowners realize. The first is the wind. Santa Ana events blow dust, leaves, and debris into any opening, including flues that lack caps or have damaged screens. After a significant wind event, check the cap screen for debris accumulation and the area around the chimney chase for anything that looks like it was blown in. The second is the summer heat. Ontario’s summer temperature cycles stress exterior masonry in ways that colder climates don’t experience. After a stretch of 100-degree days, check the exterior masonry for fresh cracks, especially on the south and west faces that get the most direct sun. Cracks that appear in August will open further in January when the rains arrive.
Common Mistakes to Avoid
- Treating every crack as an emergency. Not all crown or firebox cracks require immediate action. Some are cosmetic, some are early stage, and some are structural. The difference matters, and it’s visible on camera. Get the inspection before you get the quote.
- Using the wrong sealant on masonry. Hardware-store silicone caulk is not masonry repair. It fails within months in Ontario’s temperature swings and it’s hard to remove when a proper repair is eventually done.
- Ignoring the damper because the fire lights fine. A fire that lights doesn’t mean the damper is sealing properly when closed. Most heat loss related to chimneys happens after the fire is out.
- Cleaning the chimney yourself with a brush from a big-box store. A homeowner brush removes loose soot from the reachable liner surface. It doesn’t evaluate the liner, the damper, the cap, or the flashing, and it doesn’t remove third-degree creosote glaze. You’re paying for false confidence.
- Waiting for a visible problem before calling anyone. The most expensive chimney repairs we do in Ontario are the ones where the problem was visible from the ground for two years before anyone acted. Logging what you see and scheduling an annual inspection catches the $300 problems before they become $3,000 ones.
- Skipping the dryer vent while you’re thinking about venting safety. Dryer vents are a leading cause of house fires, and cleaning them is maintenance, not optional. If you’re concerned about chimney safety, your Dryer Vent Cleaning in Ontario deserves the same attention.
- Assuming a new home’s chimney is clean and safe. Home inspectors look at the chimney from the roof and from the fireplace opening. They don’t run a camera up the flue unless you pay for a specialized inspection. Many Ontario homebuyers discover liner problems in their first year.
When to Call a Professional
Call a professional when you find anything that a visual inspection can’t fully evaluate: a crown crack, a flashing gap, a damper that won’t seal, a liner that’s never been camera-inspected. Also call when you’re buying or selling a home in Ontario and the chimney’s condition matters to the transaction. And call if you’ve burned more than 50 fires since the last cleaning, or if it’s been more than a year, whichever comes first. Chimney sweeping is the baseline maintenance that makes everything else visible. You can learn more about our Chimney Sweep in Ontario service, and if you’re ready to get a professional assessment, Ontario Chimney home offers free estimates in Ontario. Call us at (833) 467-7685.
Frequently Asked Questions
Annually, or every 50 fires, whichever comes first. Ontario’s dry climate produces creosote that can be denser and harder than what forms in more humid regions, so regular sweeping matters. Call (833) 467-7685 to schedule.
A standard chimney sweep in Ontario typically runs between $180 and $300, depending on the chimney type, its condition, and the last time it was cleaned. Camera inspections are often included with the sweep or quoted as a separate line item. Call (833) 467-7685 for an exact quote, and the estimate is free.
Not necessarily. Hairline cracks in a clay tile liner can sometimes be sealed with HeatShield ceramic resurfacing, which restores structural integrity without a full replacement. The decision depends on the crack pattern, the liner’s overall condition, and whether there’s been a chimney fire. Get the camera evidence and a professional opinion before committing to a tear-out.
Creosote accumulates, the liner deteriorates, the damper seal fails, and water finds its way into the masonry. None of these are visible from outside, and by the time symptoms appear, the repair bill is significantly higher. A $200 annual sweep is cheap compared to a $3,000+ rebuild.
You can inspect the cap and crown from the ground with binoculars, the damper and firebox from inside the fireplace opening, and the flashing from inside the attic. What you can’t do is see inside the flue, which is where the most serious problems develop. That requires a camera and a trained technician.
Yes. Ontario’s temperature cycles stress exterior masonry, and Santa Ana winds drive debris into open flues. After significant wind events, check the cap screen. After summer heat waves, check the exterior masonry for fresh cracks. Both are Ontario-specific factors that other regions don’t deal with.
The Bottom Line
A chimney maintenance checklist only works if it’s built around what actually fails. Start with the crown and cap because they’re visible and because they let water in. Move to the flashing because that’s where most leaks actually start. Check the damper because it’s the component everyone ignores and everyone pays for eventually. Run a camera up the liner because that’s the only way to see the condition of the thing that contains the fire’s exhaust. Log what you find, act on what matters, and get a professional sweep and inspection annually in Ontario. For more guides & resources, explore our blog. The goal is catching the $300 problems before they become $3,000 ones. That’s a lot cheaper, and a lot less disruptive, than rebuilding a chimney you could have saved.
Written by the team at Ontario Chimney, serving Ontario since 2014.
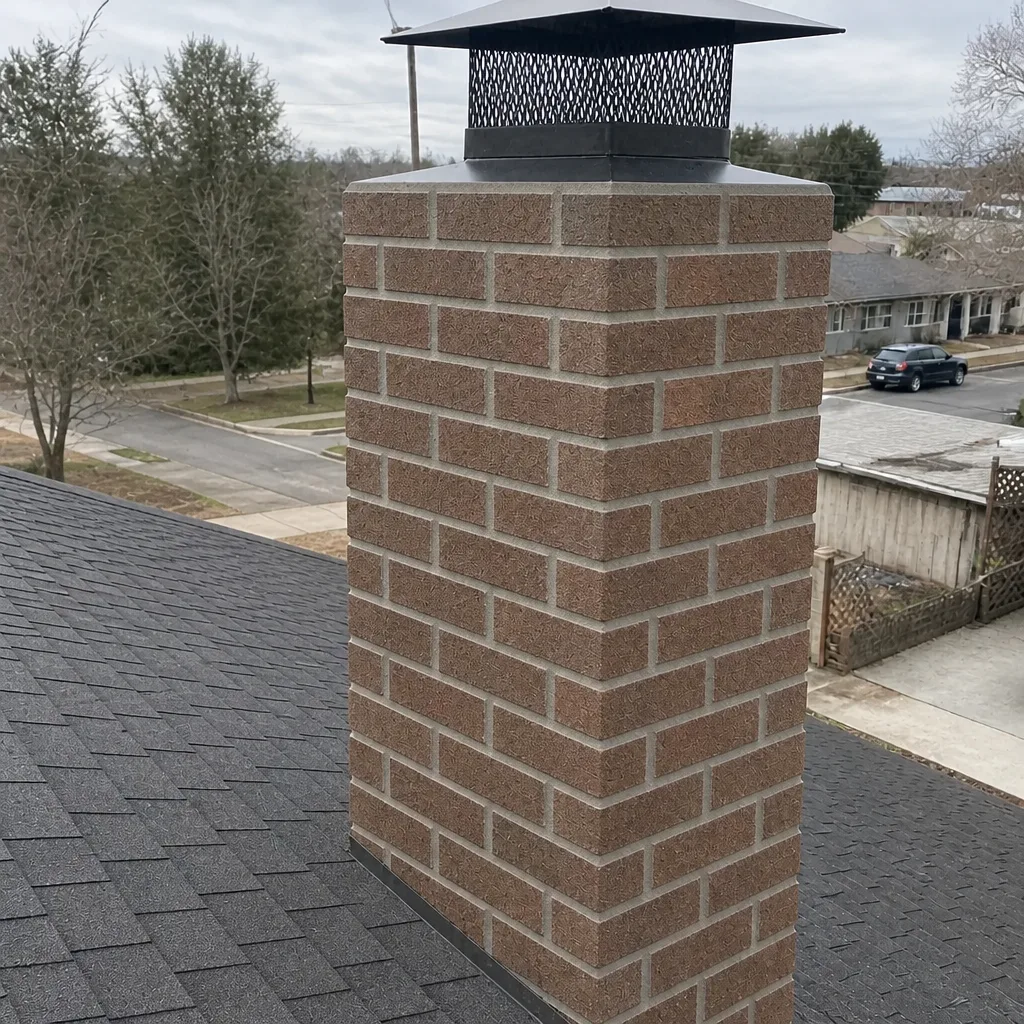
See the difference
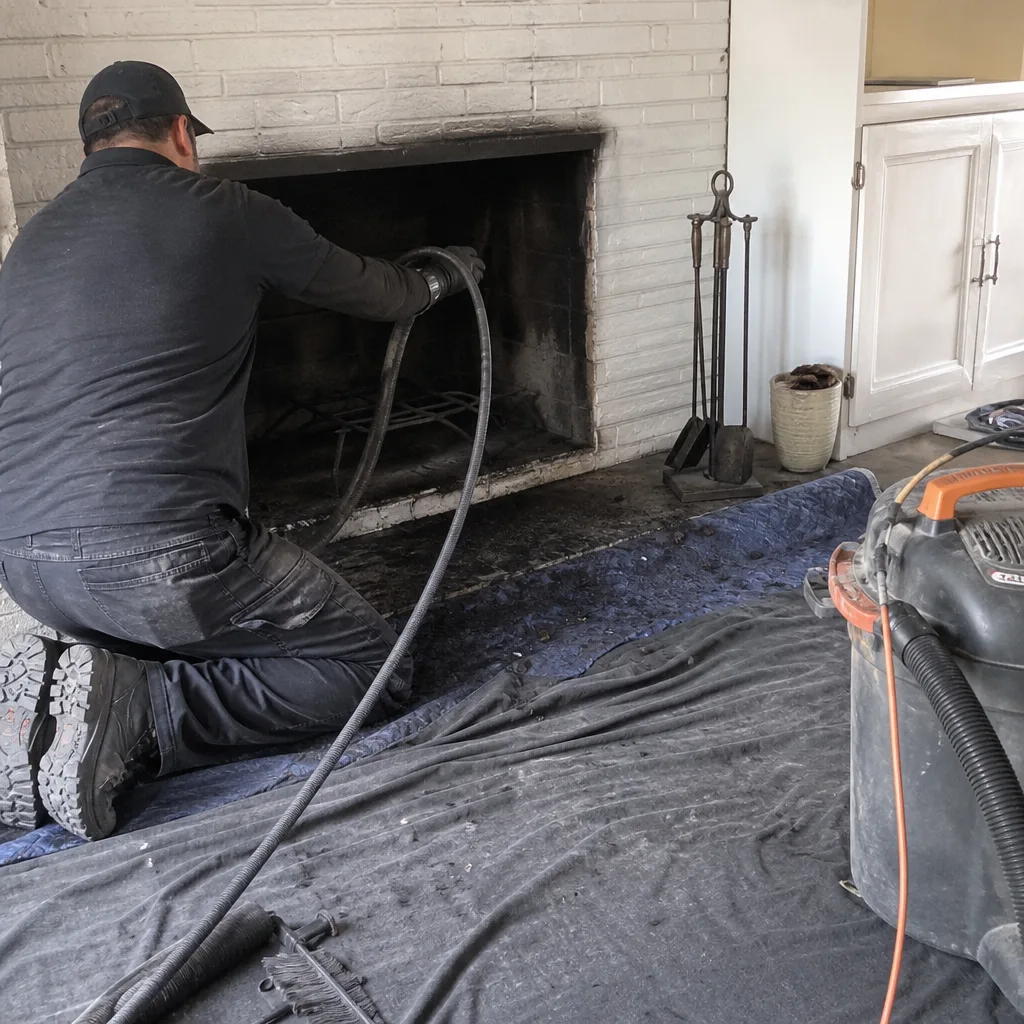 Before
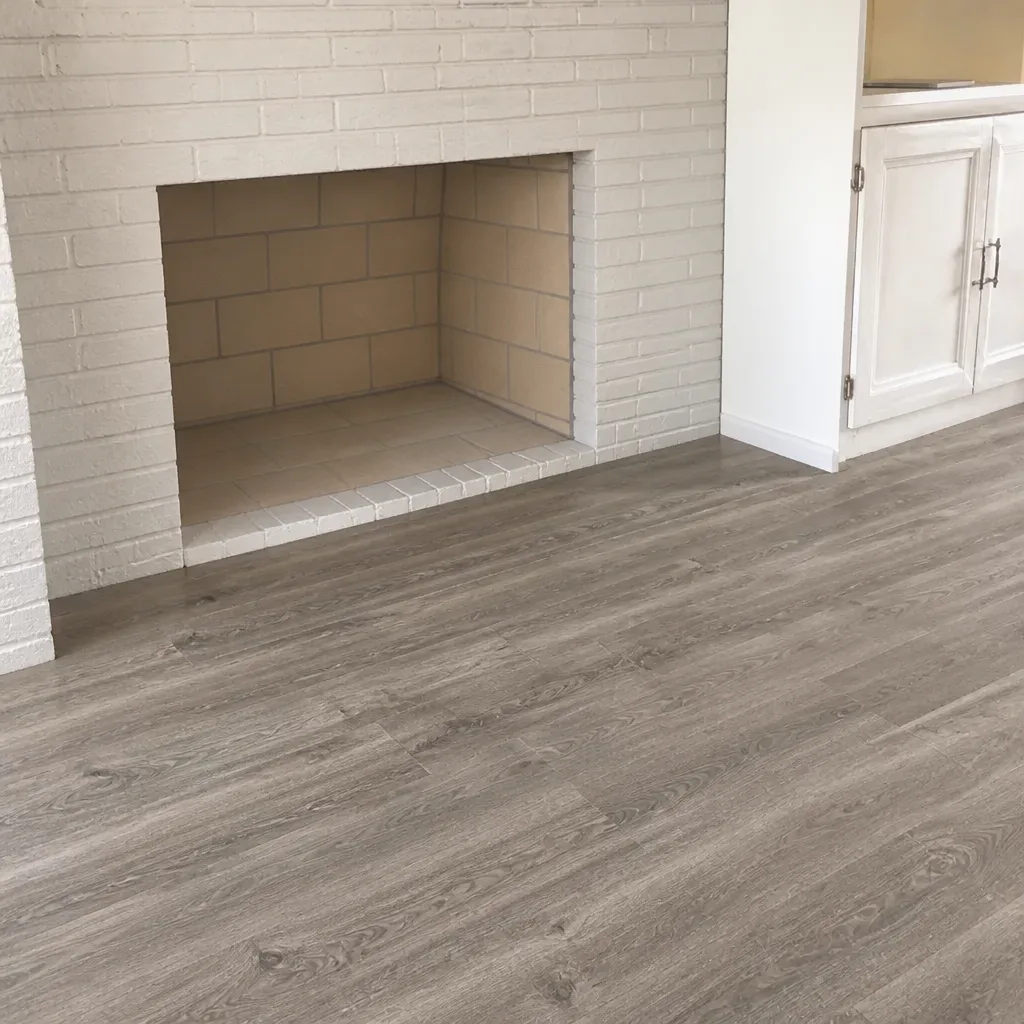 After
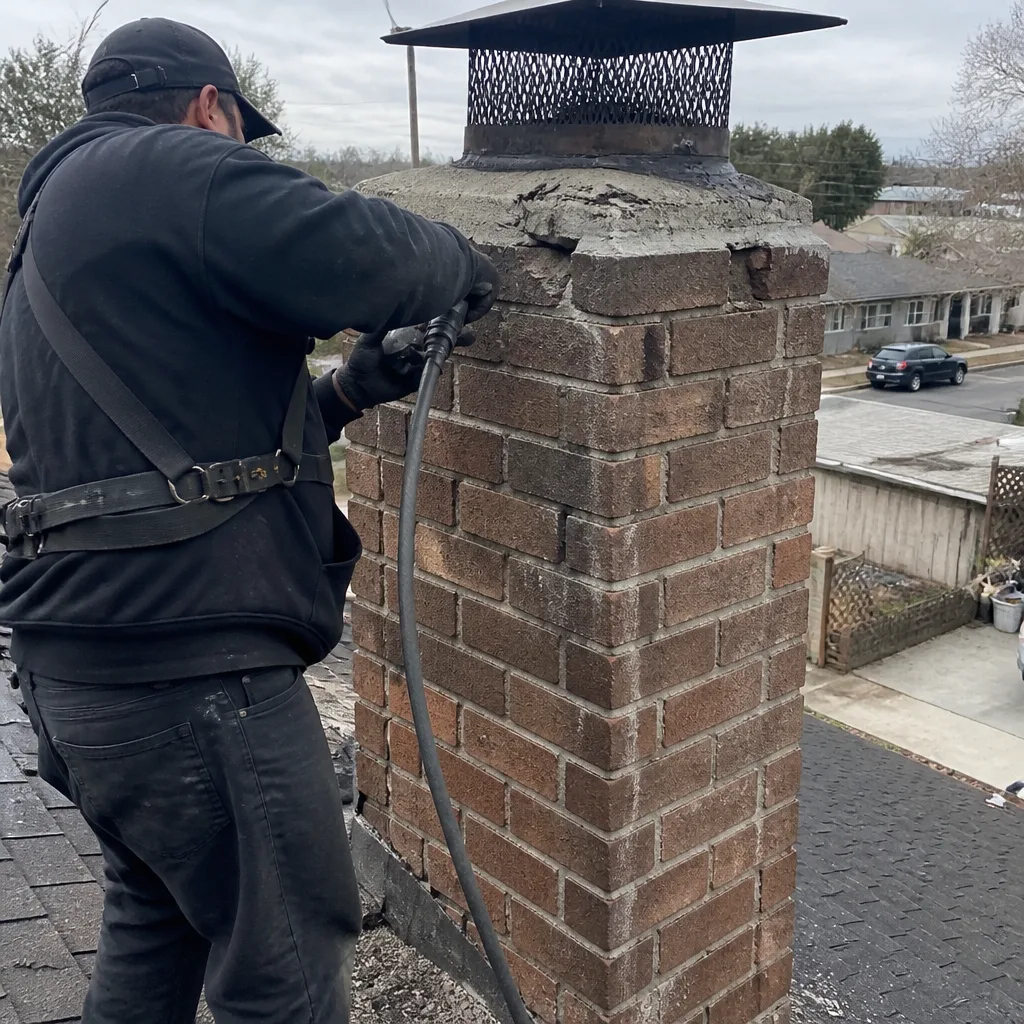 Before
 After
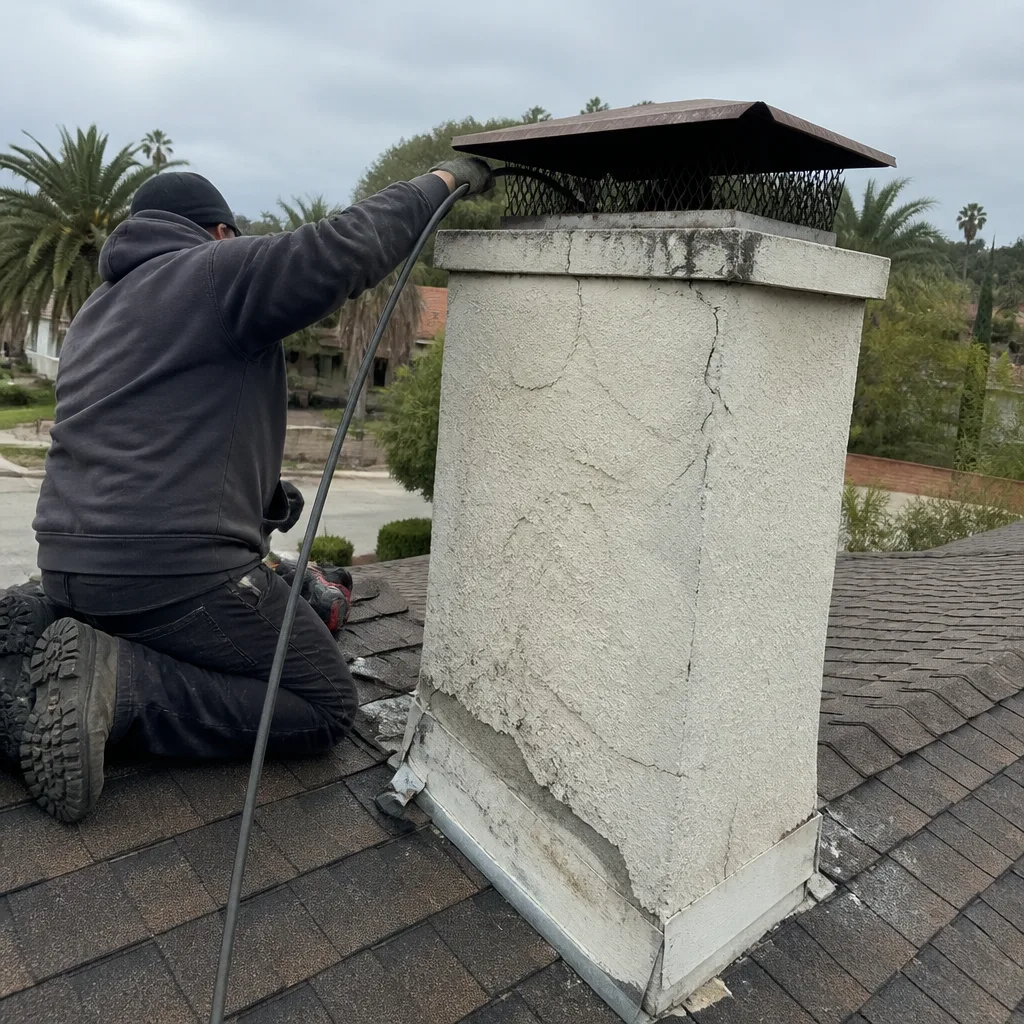 Before
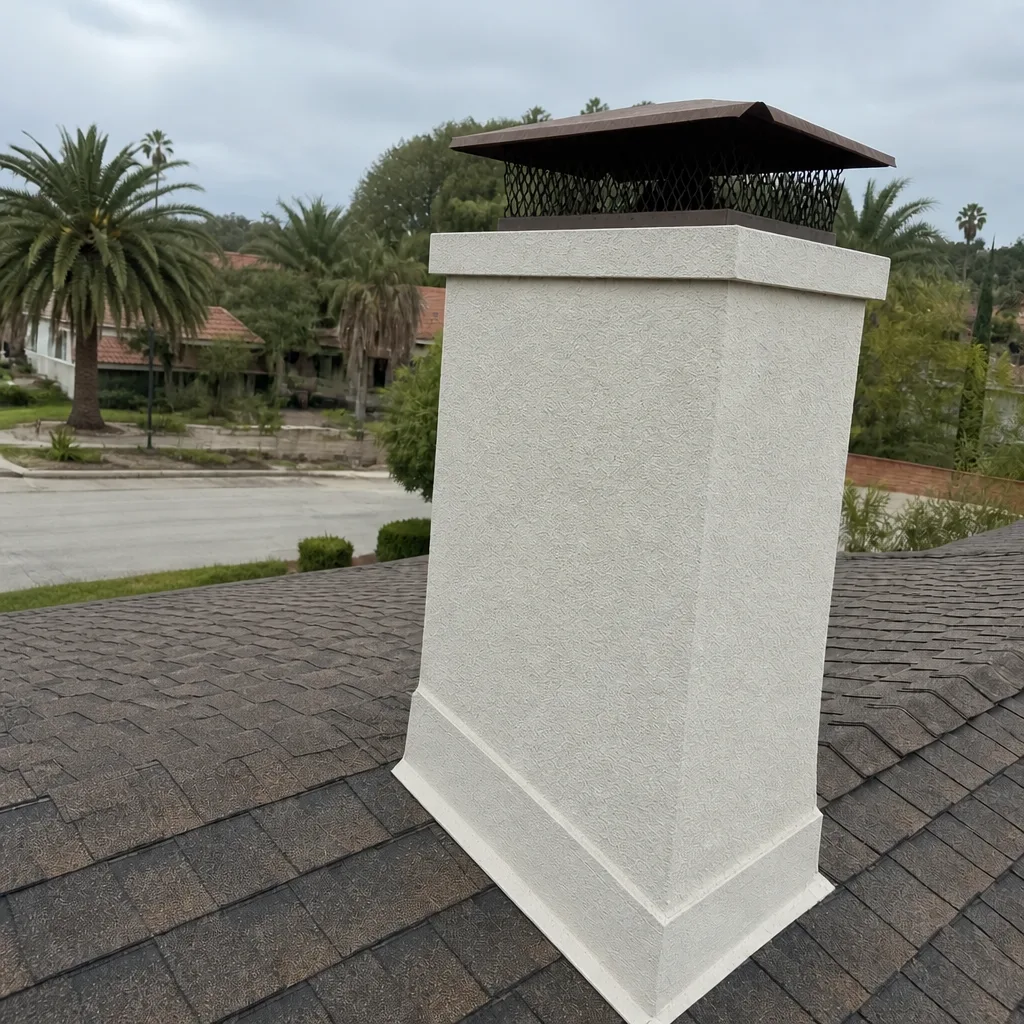 After